A homemade model of an earthquake-resistant building, made from cardboard, craft sticks, and bubble wrap, sits on blueprints.
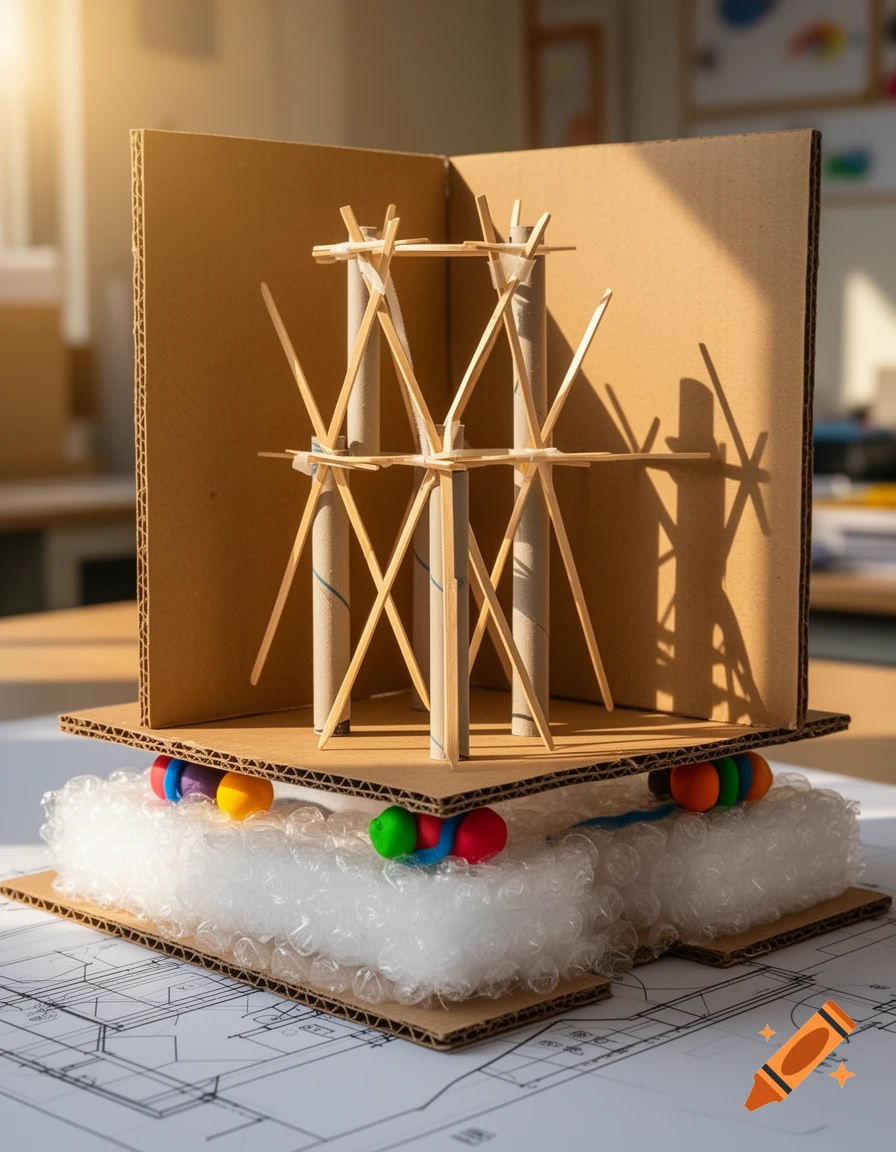
Building an earthquake-resistant model requires a balance of flexibility to absorb energy and rigidity to maintain structural integrity. Using the suggested materials from 6999.jpg, here is a step-by-step guide on how to engineer your project. 1. The Foundation: Base Isolation In real engineering, base isolation separates the building from the shaking ground. You can simulate this using "soft" materials from your list. The Shock Absorbers: Use bubble wrap or styrofoam packing pieces as a cushioned layer between two pieces of cardboard. The Rollers: Place rubber bands or small balls of modeling clay under the base to allow the building to shift slightly without snapping. 2. The Skeleton: Triangulation and Cross-Bracing Squares and rectangles easily collapse under lateral (side-to-side) force. Triangles are the strongest shape in engineering because they do not deform.Main Pillars: Use toilet paper tubes or bundled craft sticks for your vertical supports.Cross-Bracing: Use pipe cleaners or toothpicks to create "X" shapes across your wall frames. Secure these with tape or glue. This distributes the earthquake's energy diagonally through the frame.Suggested Build Order Base: Glue bubble wrap between two cardboard sheets. Frame: Build a tower using craft sticks, ensuring every square section has a diagonal toothpick or pipe cleaner brace. Walls: Attach foam board pieces or paper to the frame to add "skin," which provides additional shear resistance. Testing: Place your Mehr sehen
More images like this